Kids Crafts
DIY STRING ART Heart
Posted on February 1, 2021
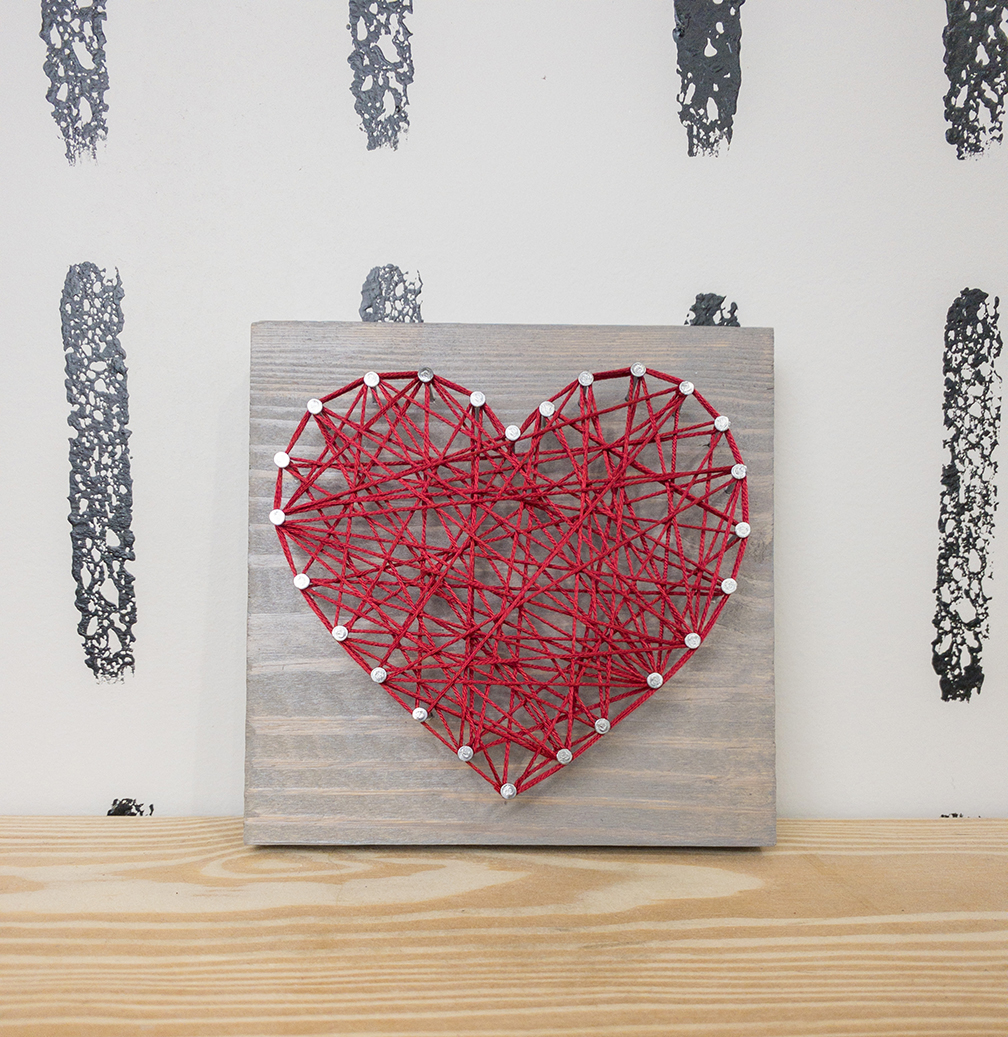
This project is perfect for middle-aged kids up for a bit of a challenge! We wouldn’t call it hard, but it does require some attention to detail and a little bit of patience. You can modify this project to just about any shape or size, as long as you have enough nails and string!
SUPPLIES & TOOLS
- Wood piece – we used a 4 1/2″ square that was 3/4″ thick (cut from a larger 1×4″ piece) but go bigger if you’re up for it!
- String – we used embroidery thread
- Heart Shape – we print ours out on plain computer paper
- Nails – 1″ with a large flat head
- Stain or Paint
- Hammer, Paint brush, Sand paper, Tweezers
Amazon shopping list for easy ordering! Check it out here.
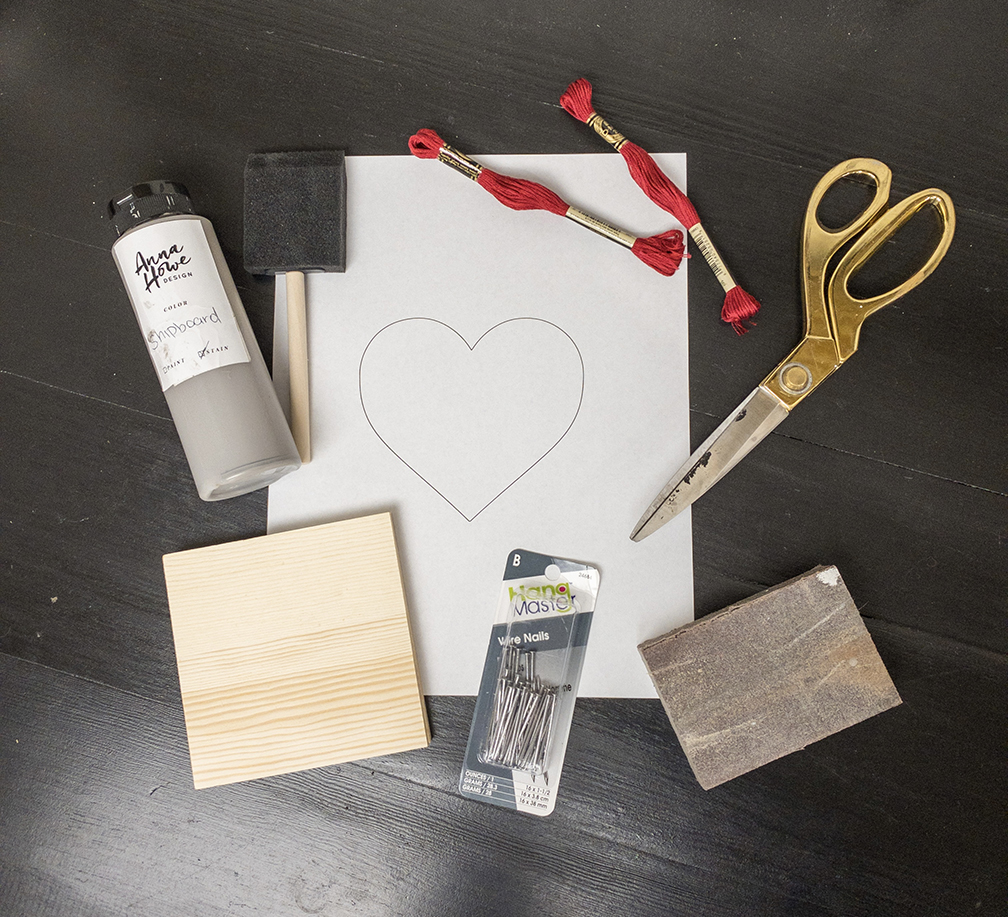
Step 1: Gather and ready your materials
Having all of your materials in one place from the start will help your craft progress smoothly.
Sand wood piece. Make sure to sand all sides because you’ll want to stain or paint all sides.
Paint or stain wood. Paint or stain all sides of the wood and let it dry. You can use a fan to move things along quicker!
Step 2: Center your heart shape on the wood piece
Do not cut your heart out. Line the heart up and hold it against the wood (we found it helpful to hold it up in front of a window so to tell if it was centered). Hold down the paper and don’t let it shift as you set it back down on your workspace.
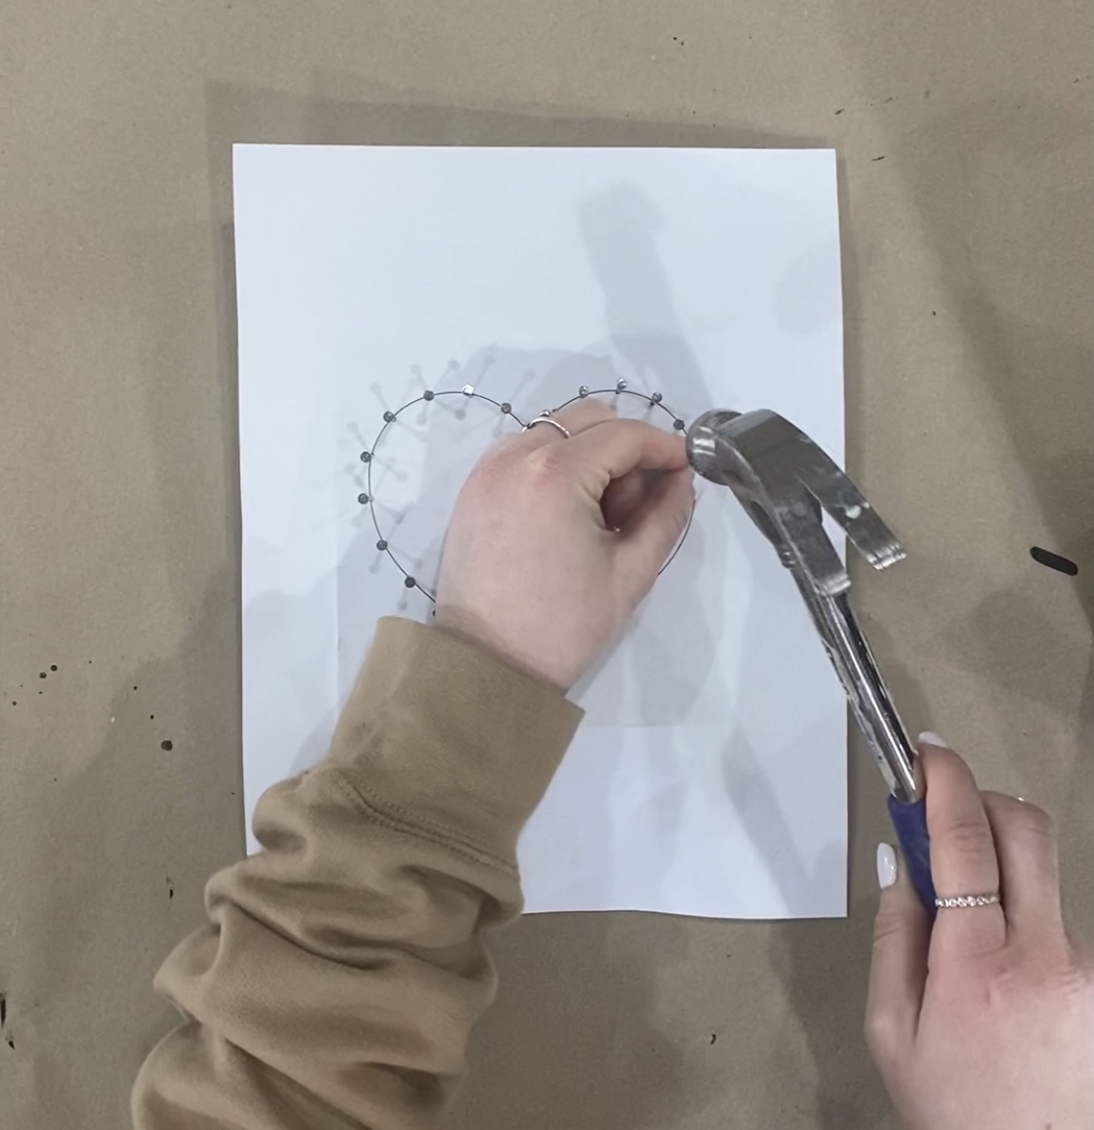
Step 3: Nail!
Grab your first nail and hammer it in through the paper. It’s probably best to place your first nail in the top center piece of the heart. Be careful not to nail it all the way through the back of the wood (yes, we did this on the first one!). This first nail will be a standard for the height of the rest of the nails, so get it right. The head of our nails sat a little over 1/2″ off the wood.
Keep inserting nails along the line of the heart. 1/2″ apart is about right depending on how big or small your project is. The bigger the wood, the bigger the space between the nails.
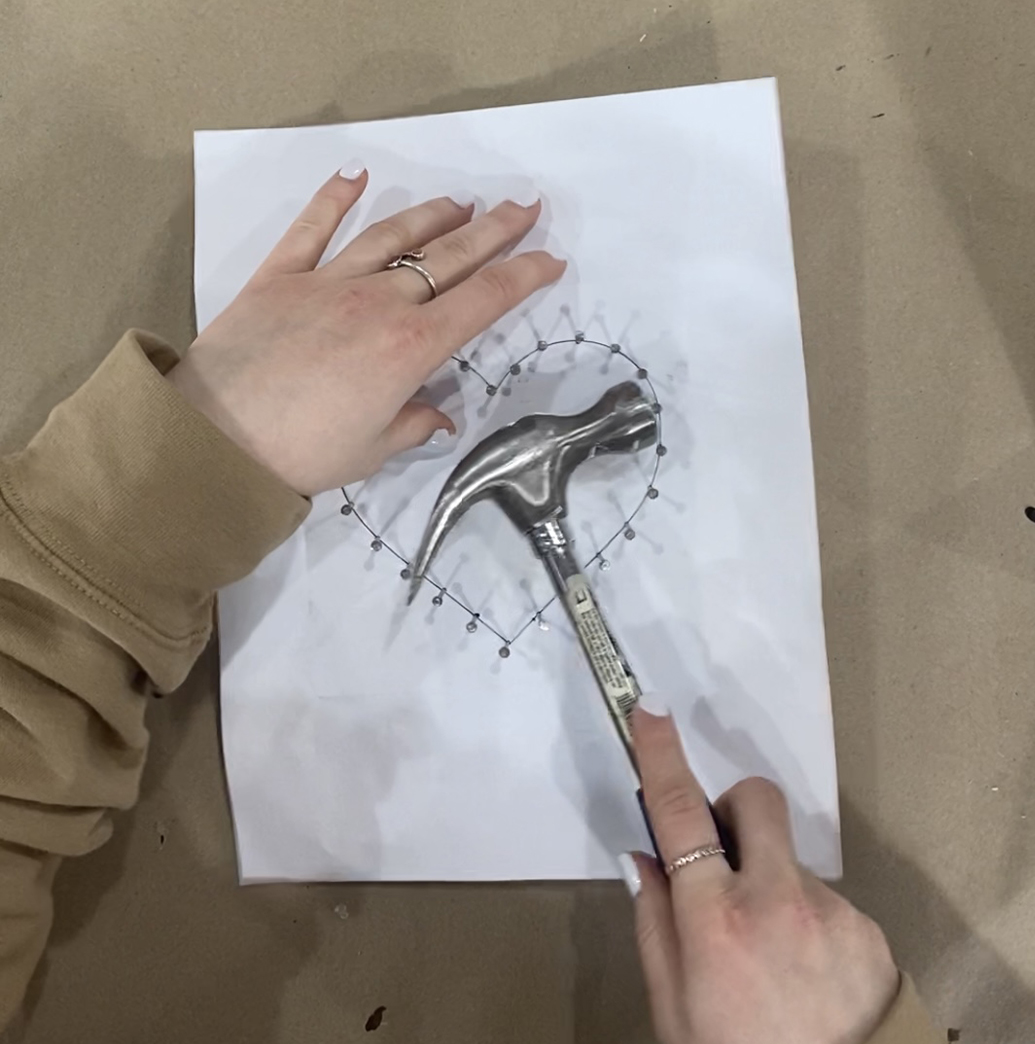
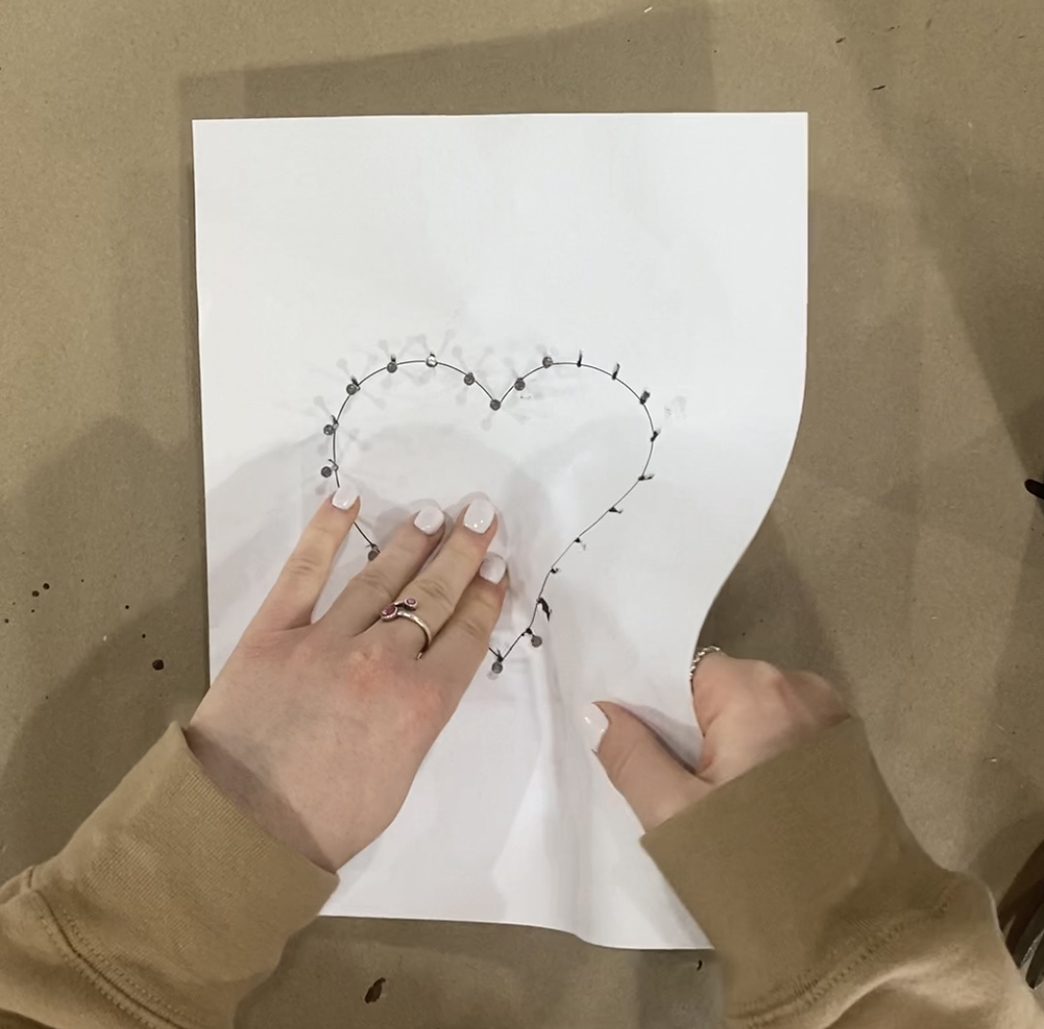
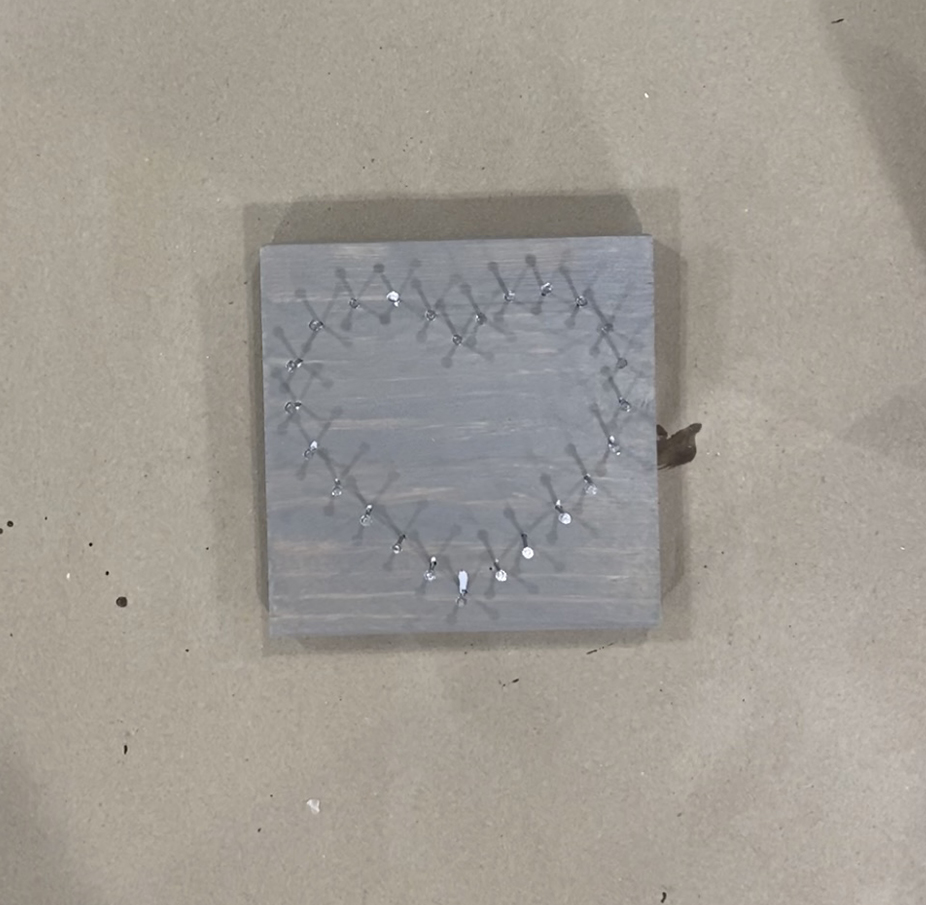
Step 4: Once you have all of the nails in, pull up the paper
Go around first and loosen the paper then completely peel it up. If there are any pieces of paper stuck under the nails you can use tweezers to pick them out.
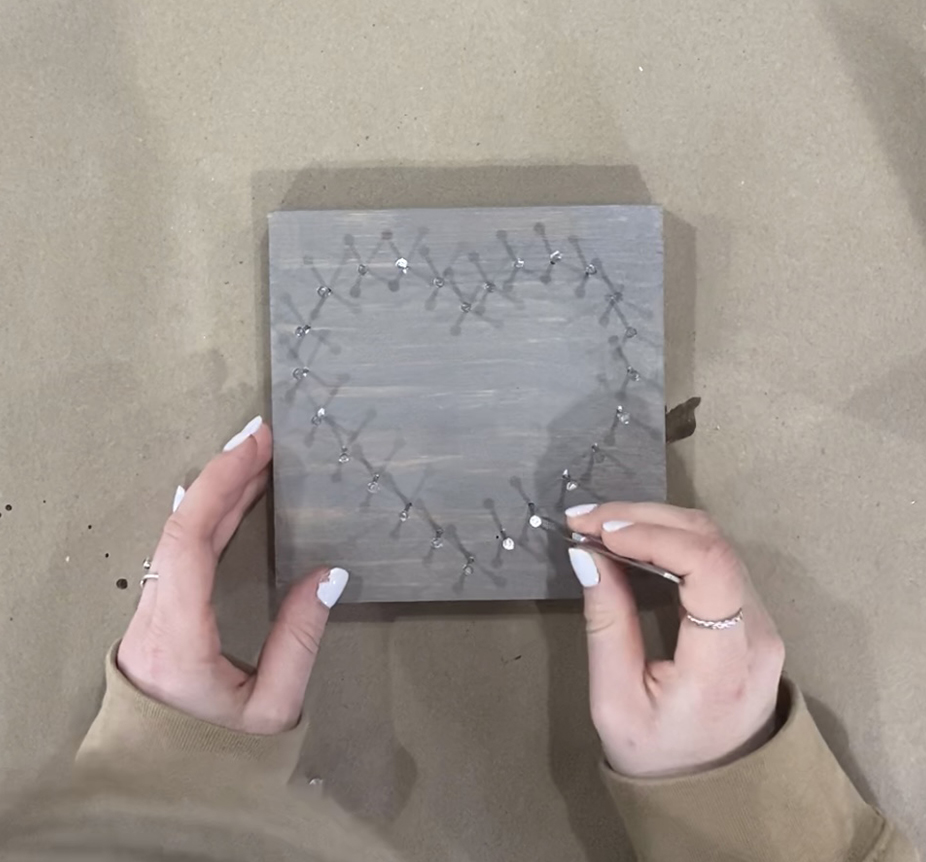
Step 5: Grab your string
With the string, tie a tight knot around the nail you want to start with. Make sure the knot is tight. Cut off the short end if it hangs out where you can see it. You don’t want your knots to be visible when you stop and start.
Begin wrapping the string around the nails to form a look you like. There’s no particular to do this, just have fun! If you run out of string, tie another knot around a nail to end and start again with a new piece of string. If you want a defined border like ours, end by wrapping the string all around the outside edge of the shape!
Tie off the end of the string around a nail and cut off any excess. Make sure to keep the string tight to keep the shape you’ve created, otherwise the string will sag.
