Adult Crafts
Macrame Rainbow
Posted on March 1, 2021
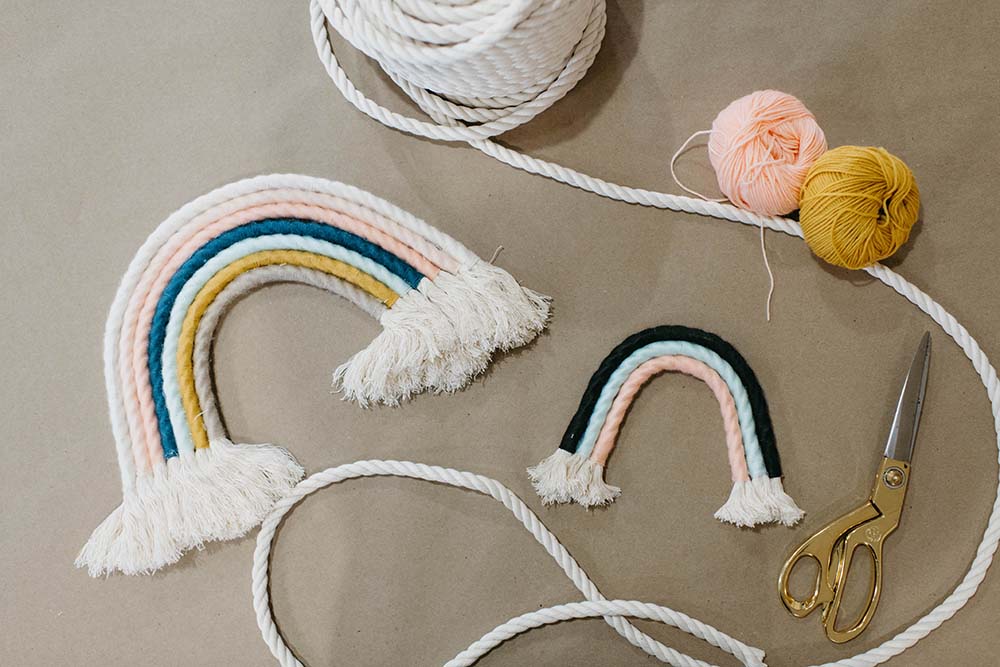
This project is perfect for older children who want a challenge or even a crafty mama who wants to add some boho to her life! This project is definitely more time consuming, but I will say the end result makes it worth it!
SUPPLIES & TOOLS
- Macrame rope
- Yarn
- Hot glue gun
- Floral wire
- Fabric scissors
- Painters or masking tape
- Scotch tape
Amazon shopping list for easy ordering! Check it out here.
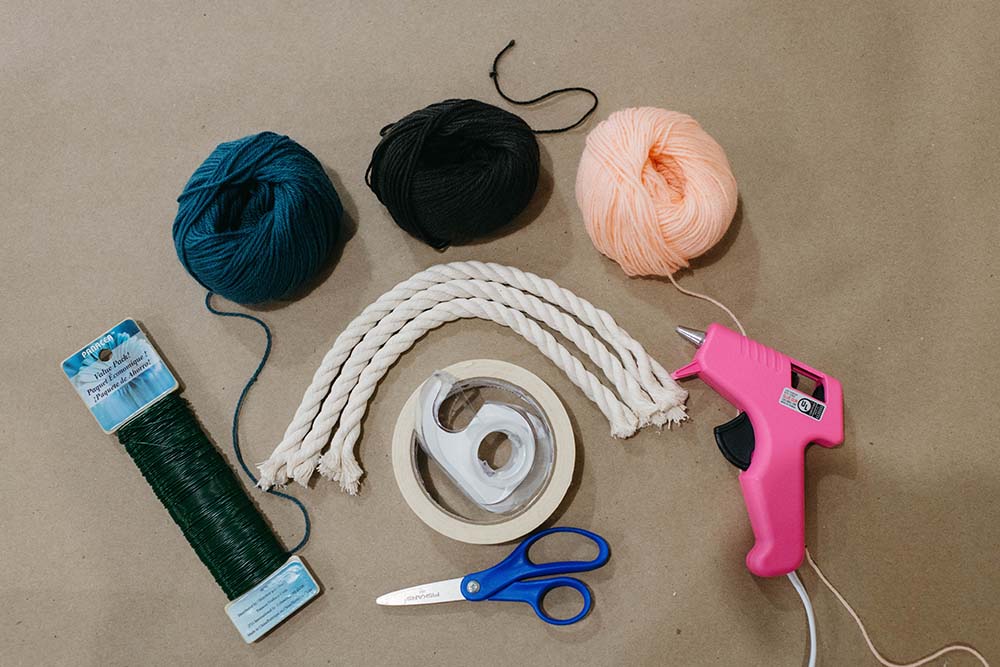
Step 1: Gather and ready your materials
If you have a lot of yarn options, make sure you know what colors you want for your arches and what order you want them in.
You also need to decide how big or small you want your final rainbow to be.
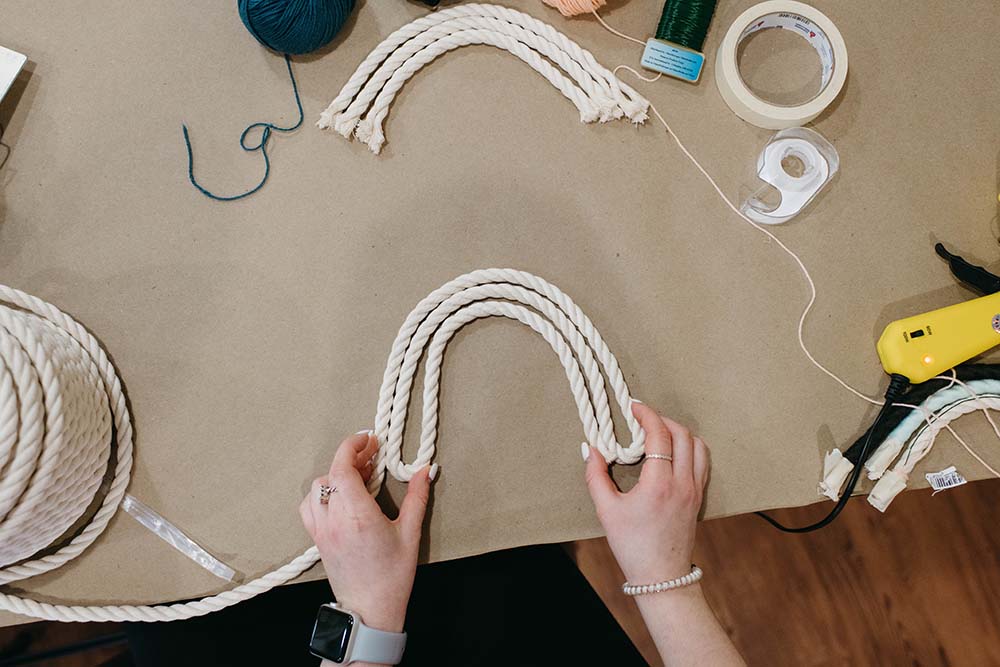
Step 2: Lay out your rope to the size and shape you want
Determine how many arches you want – an odd number is better for this project. You can make this project as big or small as you want, it just depends on where you plan to put it when it’s finished and how long you want to spend wrapping string.
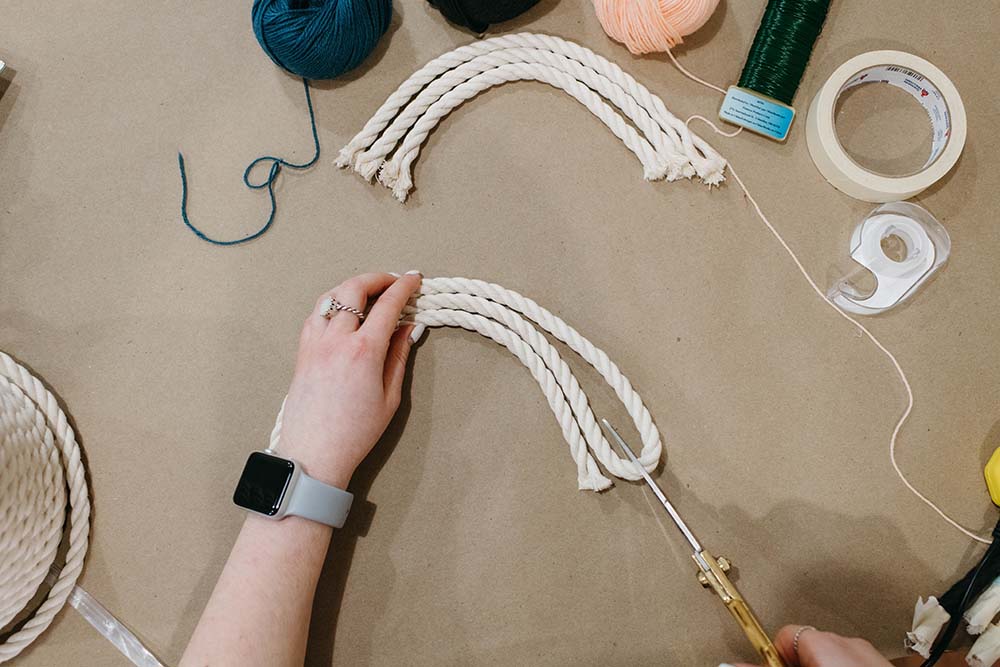
Step 3: Cut your rope
After you’ve got the shape you want, cut your rope so that you have individual arches. If you don’t have fabric scissors, prepare to put in some work cutting the rope.
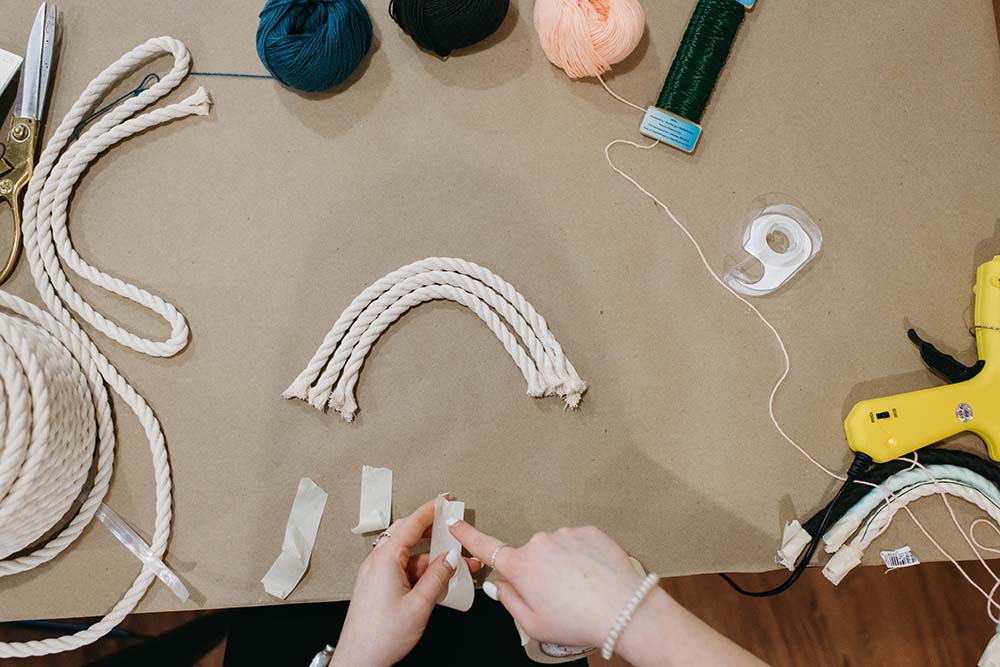
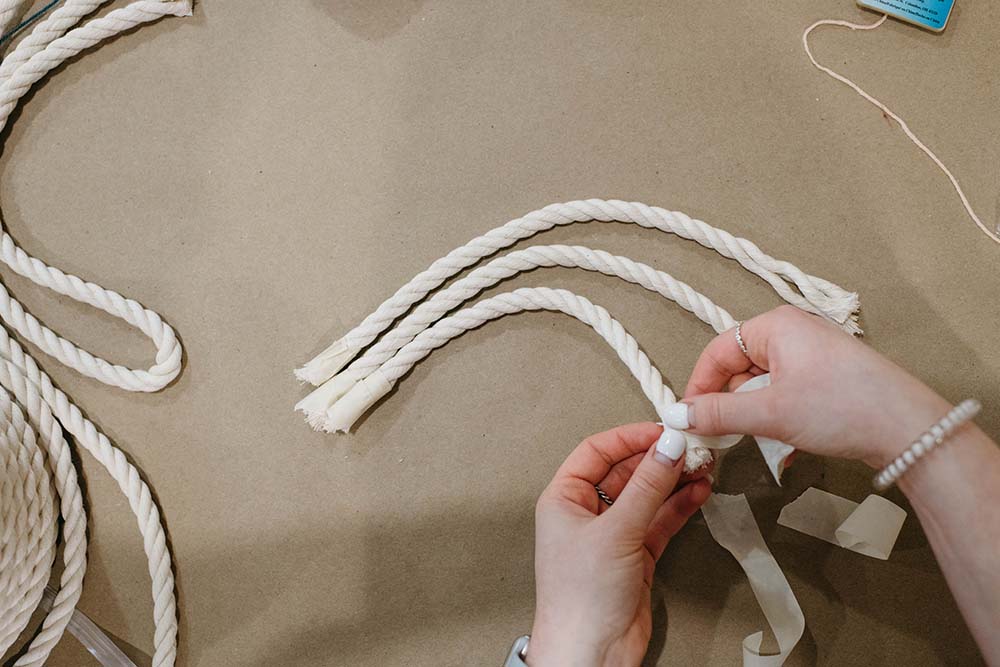
Step 4: Tape
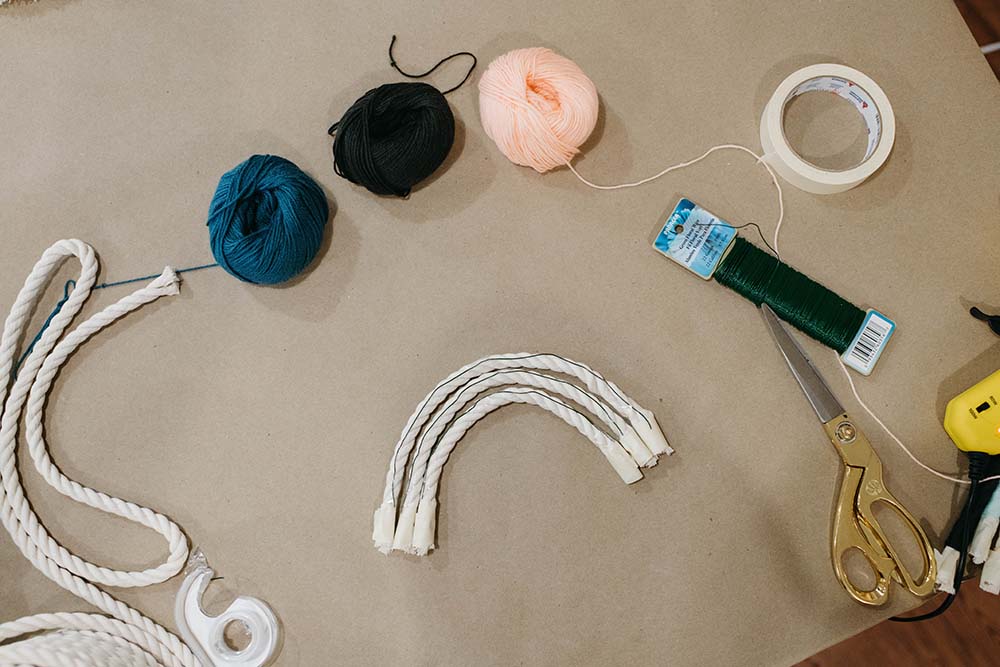
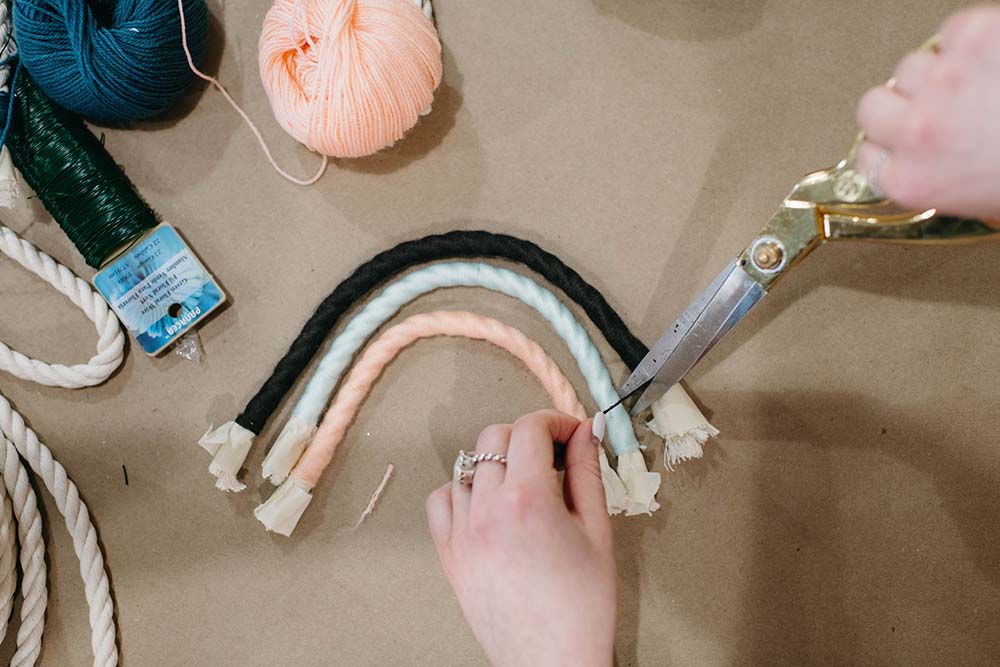
Rip pieces of masking tape for each arch end and then wrap the tape on them so that the rope doesn’t come unraveled before you need it to.
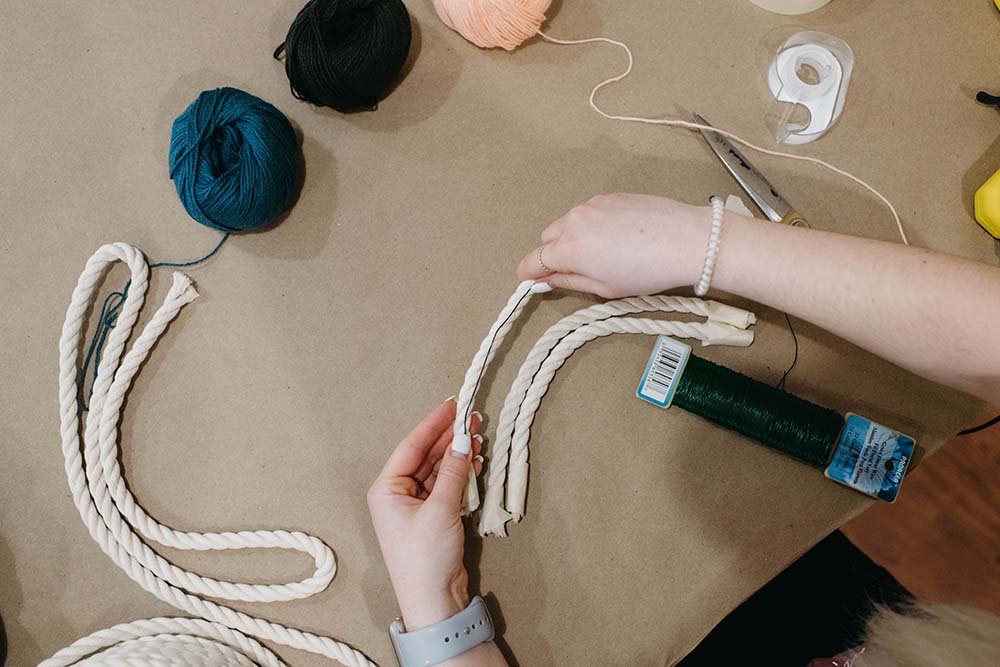
Step 5: Grab your floral wire
You want your pieces of floral wire to be the same length as your arches.
Measure the wire against each arch and then cut it to the length it needs to be.
After all pieces of wire are cut, tape the wire with scotch tape to the arch. You will want a piece of tape on both ends and in the middle. Do this for all arches.
Step 6: Begin wrapping string
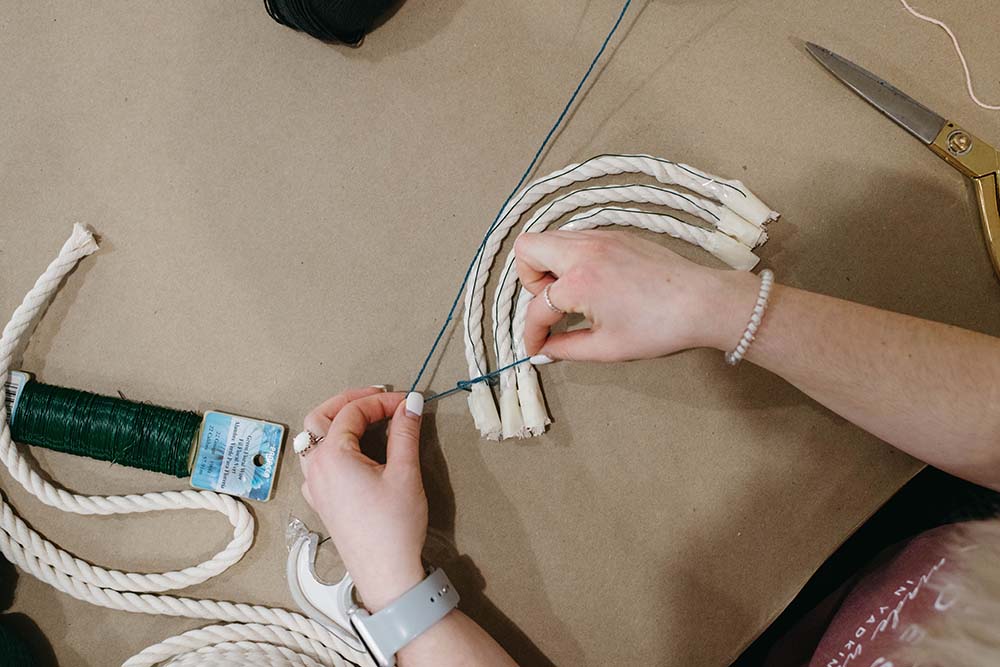
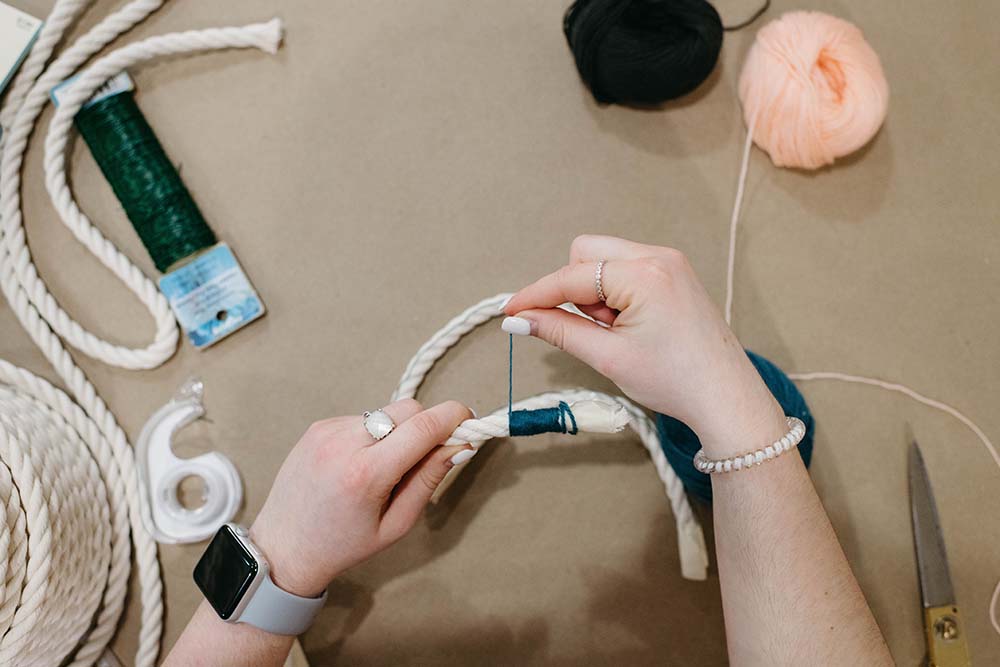
Grab your piece of string for the first arch and tie a knot at the end to start. Make sure the knot it tight around the arch with some extra on the end just in case.
When you’re wrapping the string, make sure to keep the string close together, but not overlapping.
You also want to make sure you’re covering up the wire and tape.
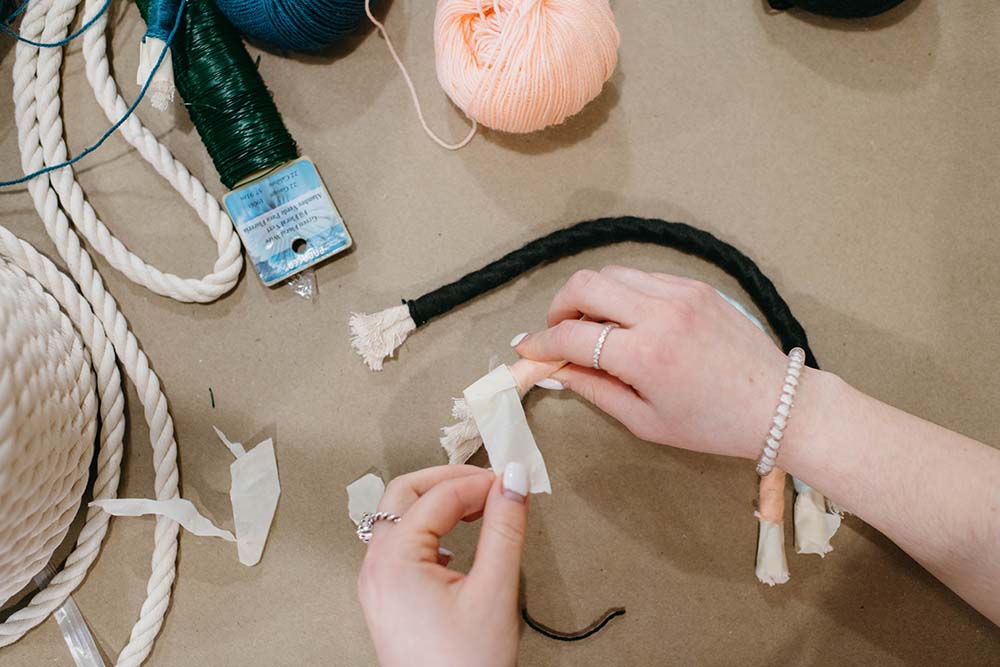
When all ropes are wrapped, take off the masking tape.
Step 7: Line up your arches
If rope is showing, move around string to cover it up. You can also hot glue loose string ends to make them stay. If tape or wire is showing, cut it off.
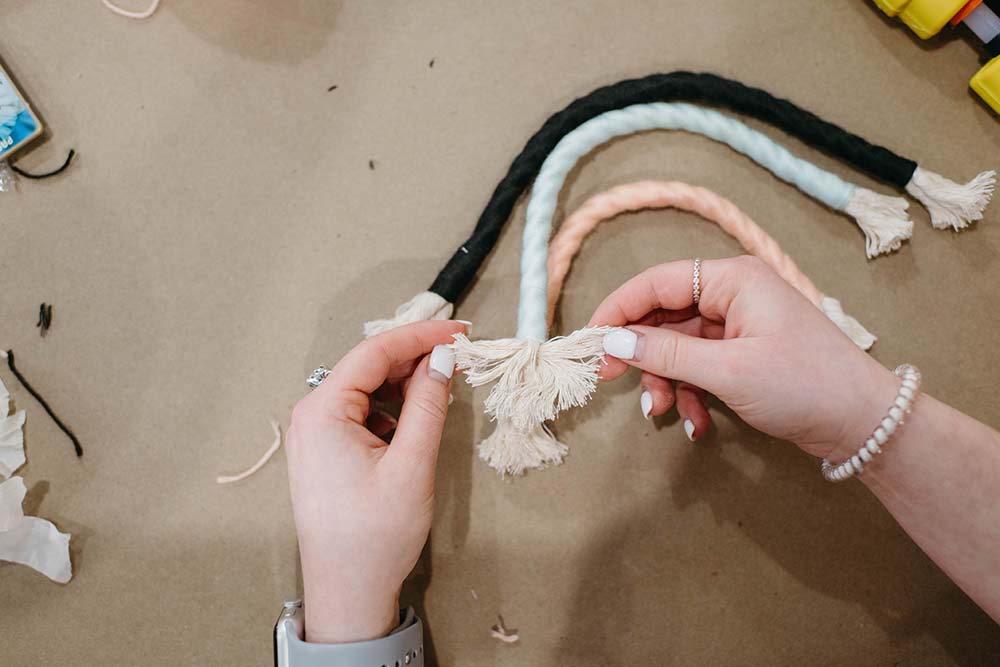
After all of your arches are together to make a complete rainbow, unravel the rope on the end of your arches. This part will make “clouds”.
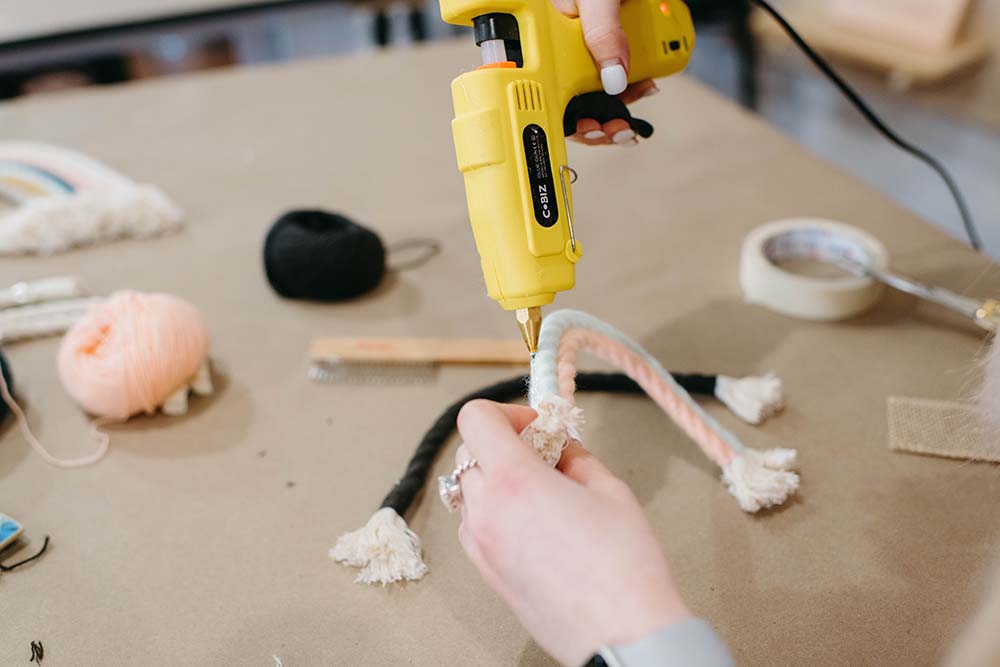
Line up your arches evenly and glue them together one by one with the hot glue gun.
Begin gluing arches together – if some of your arches don’t start at the same place and you want them to, then unravel a little of the string to make all of the colors even. Use a hot glue gun to secure the ends.
Step 8: Trim
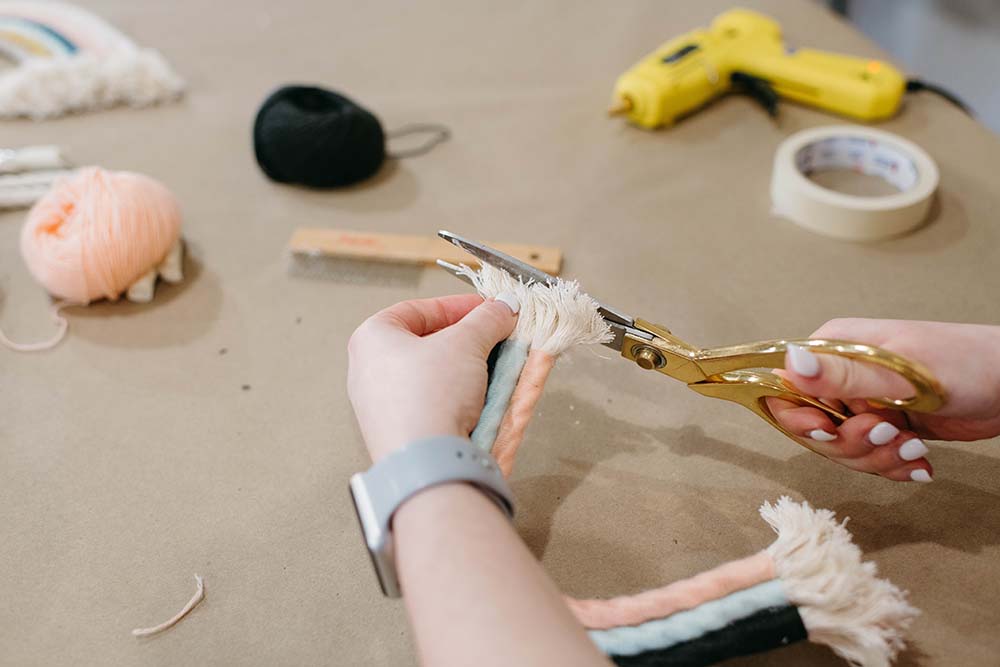
Trim unraveled rope to your desired length to make all the pieces even.
Extra Step
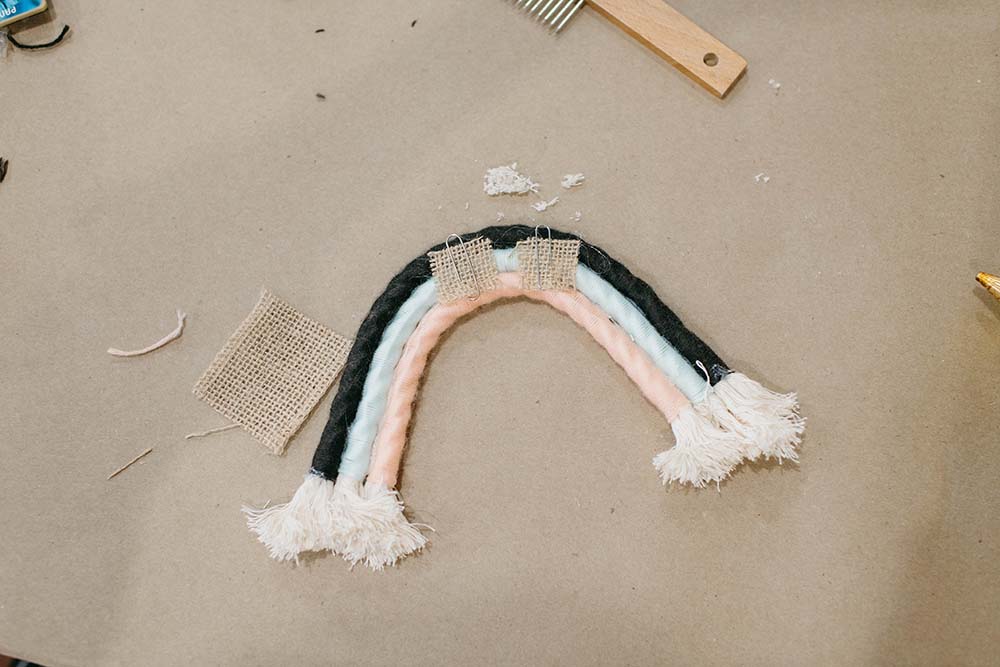
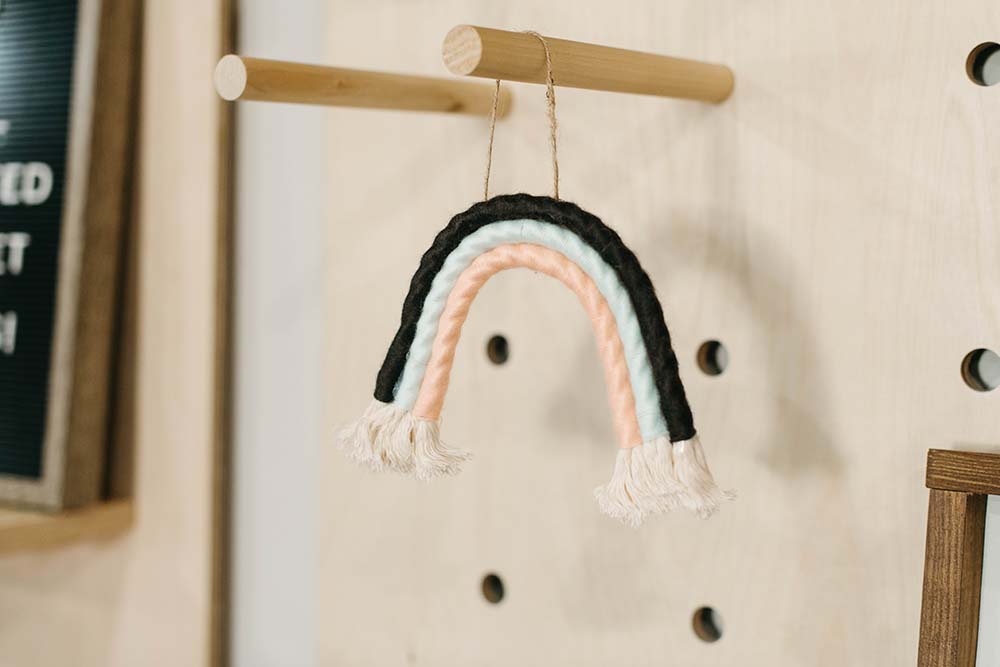
If desired, hot glue a piece of fabric, cardboard, or felt with a paper clip attached onto the back of the rainbow so you can hang your rainbow. Or you can hot glue twine or string to hang it from your rearview mirror for example.
Tips & Tricks
The thicker the string, the less time you’ll spend wrapping!


