Kids Crafts
DIY Chalk
Posted on June 1, 2021
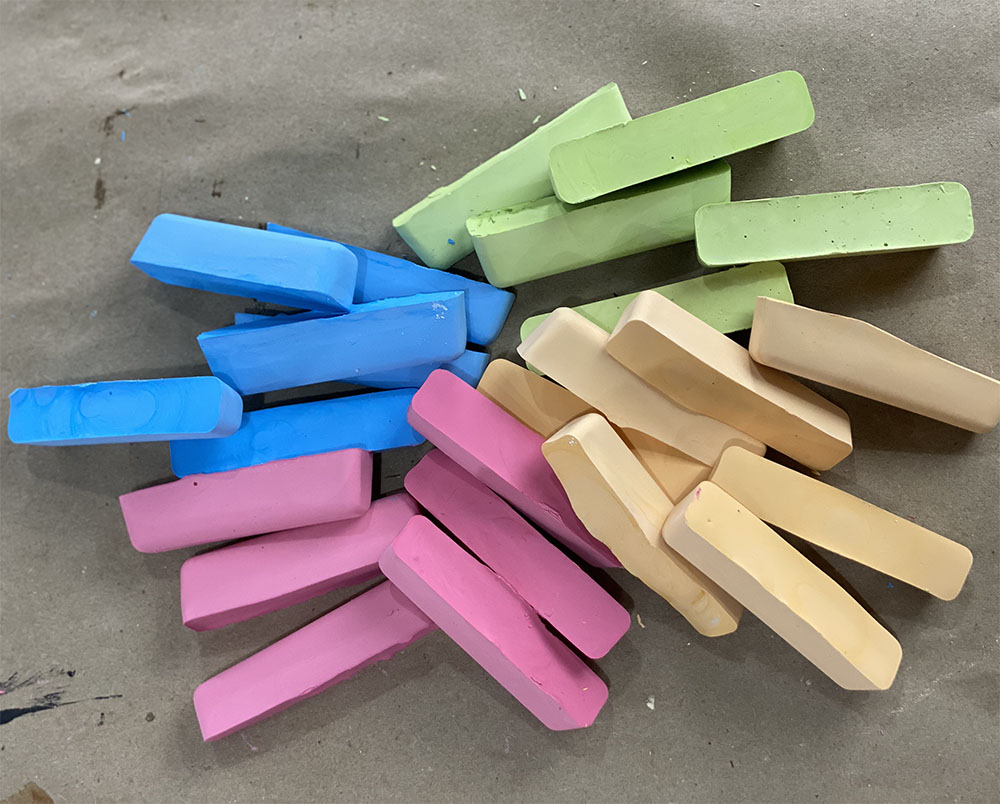
We love this project! It was so fun to make and seeing the end result was so cool because it’s not everyday you learn how to make your own chalk. Needless to say we felt like we could give crayola a run for their money lol 😉
SUPPLIES & TOOLS
- Plaster of paris
- Paint (washable is a good idea)
- Cup or bowl
- Spoon
- Water
Amazon shopping list for easy ordering! Check it out here.
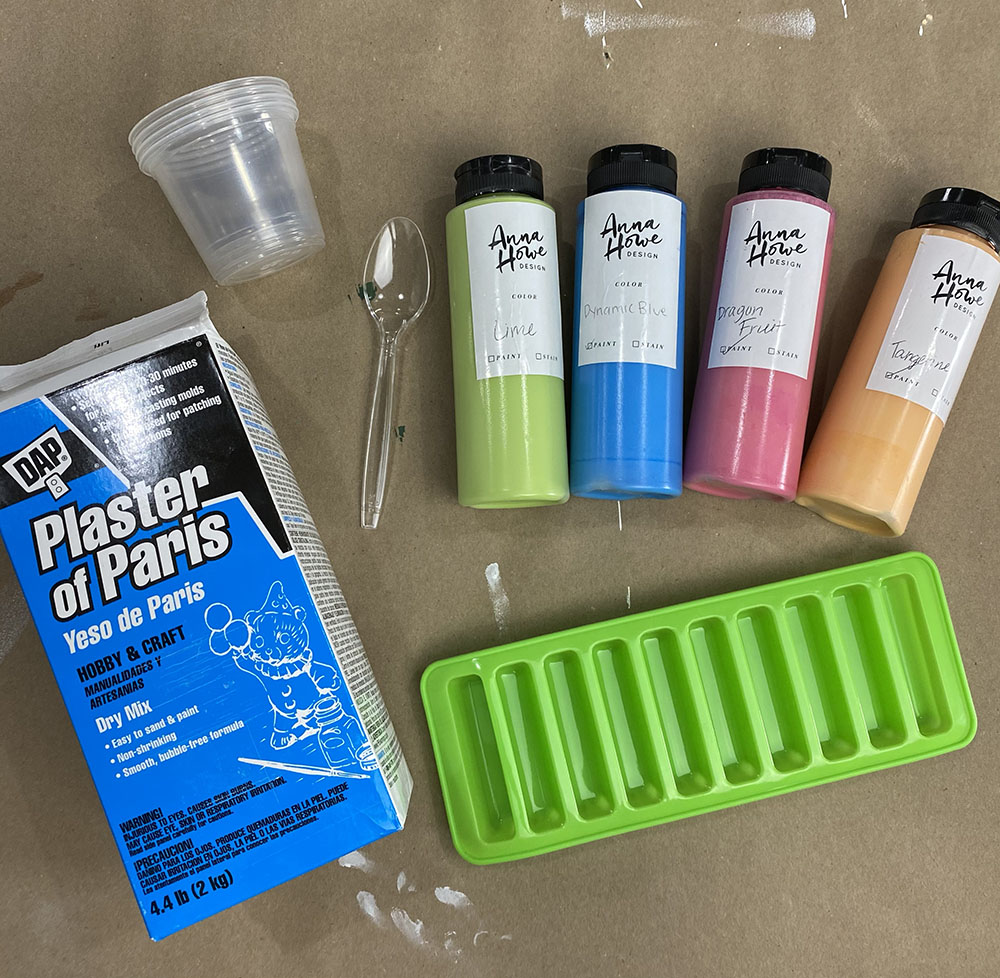
Step 1: Gather and ready your materials
Decide how how much chalk you want to make and how many colors you want to use. Get enough separate bowls and spoons to mix up each color.
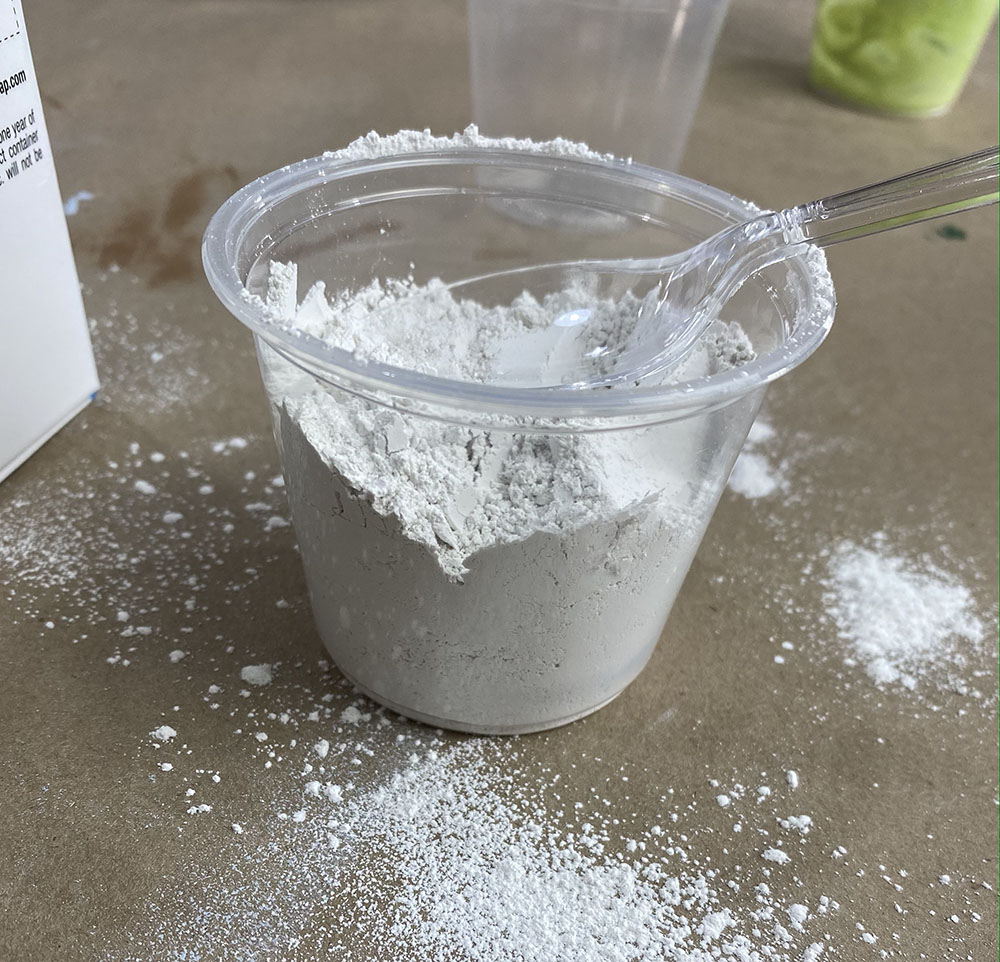
Step 2: Put plaster of Paris in your container
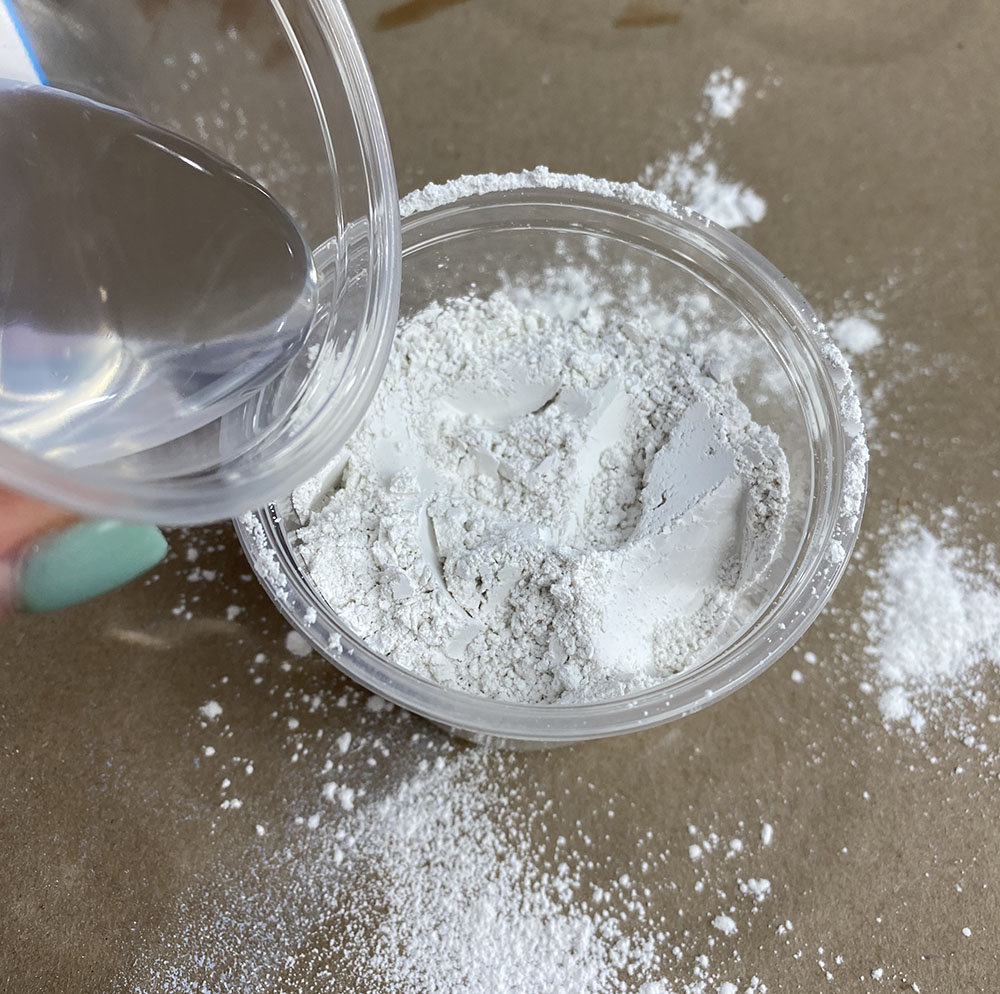
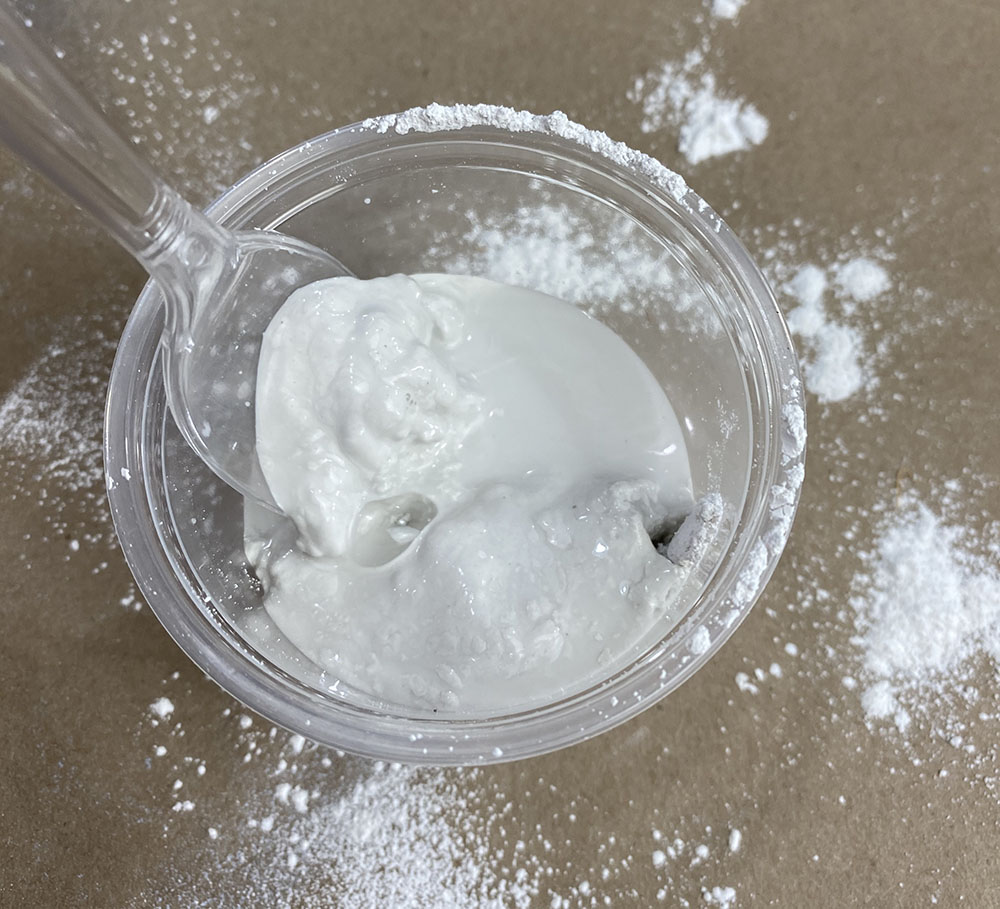
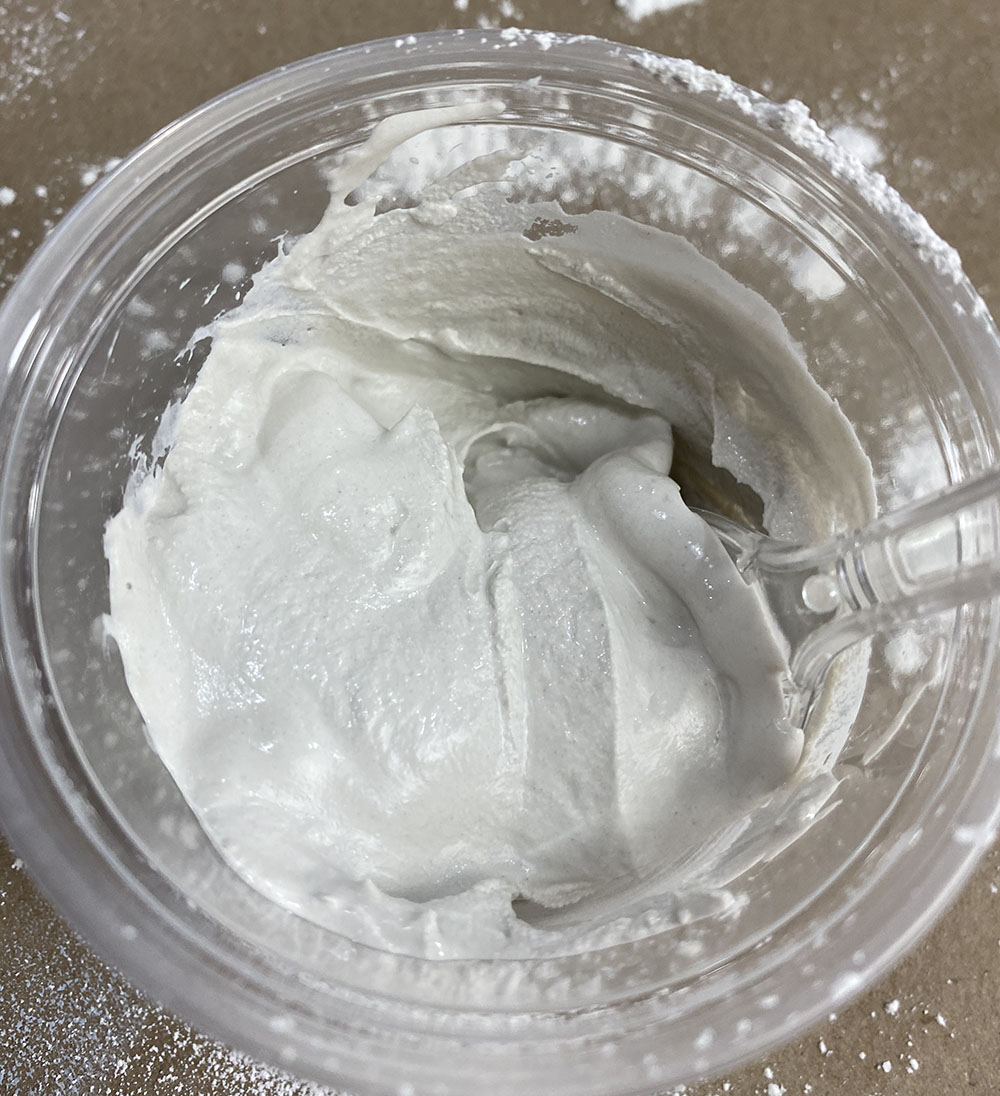
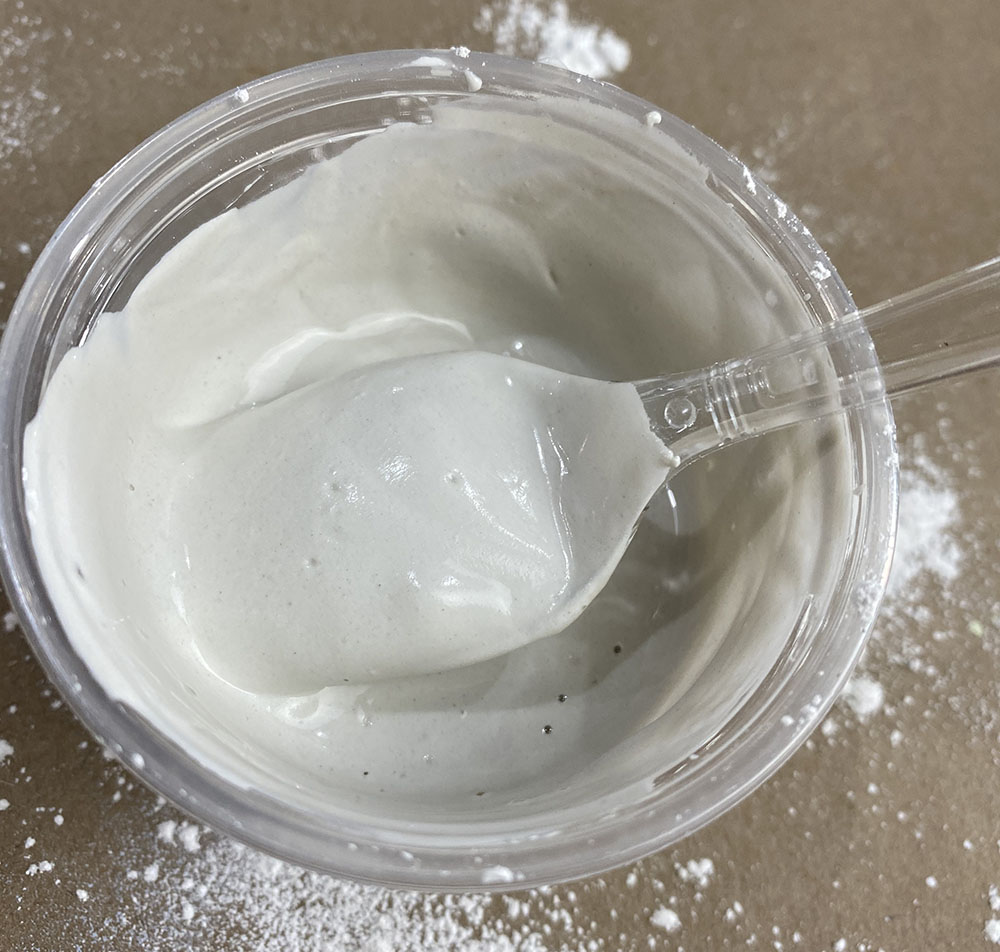
Add 3 parts plaster to 1 part water. When you add the water it’ll start to bubble and some of the powder will come up like steam. Stir up this mixture really good and make sure there’s no powder left unmixed. The perfect consistency is like a thick milkshake. If it’s too thick, add more water. If it’s too loose, add more plaster. Keep in mind that adding paint will thin it out too.
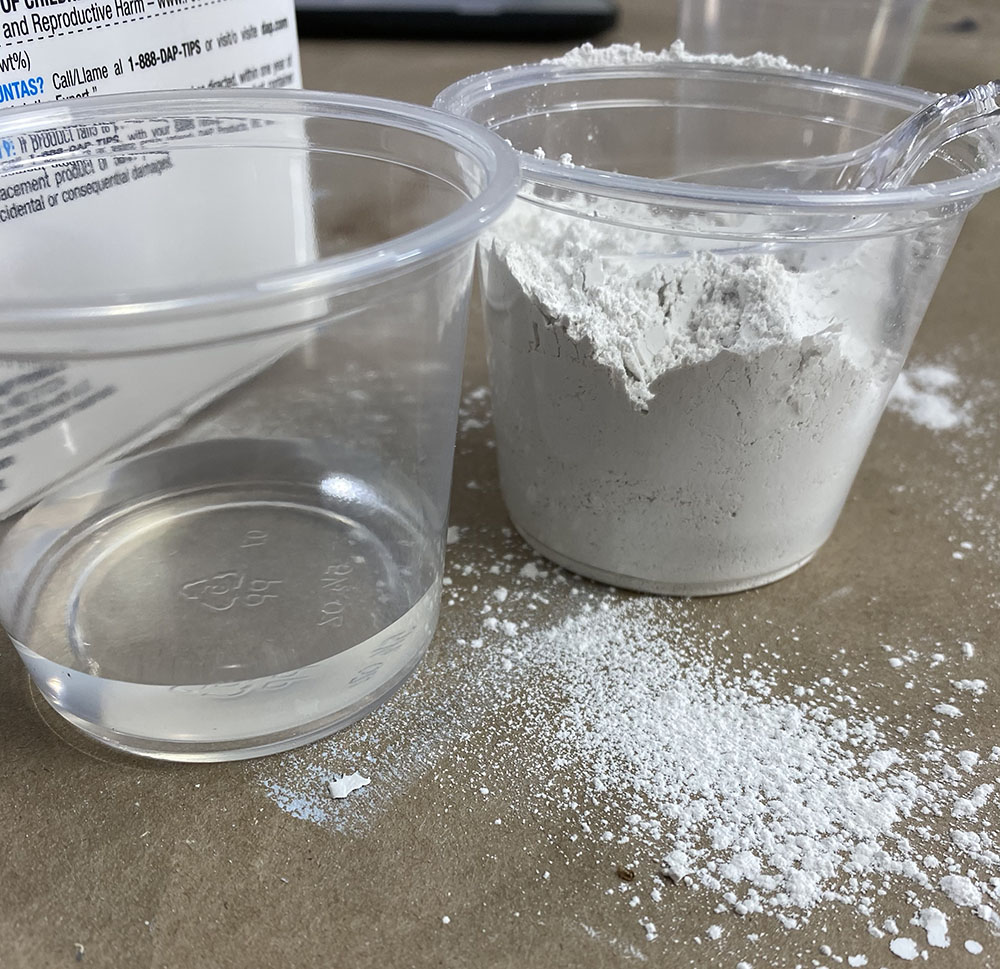
Step 5: Add paint
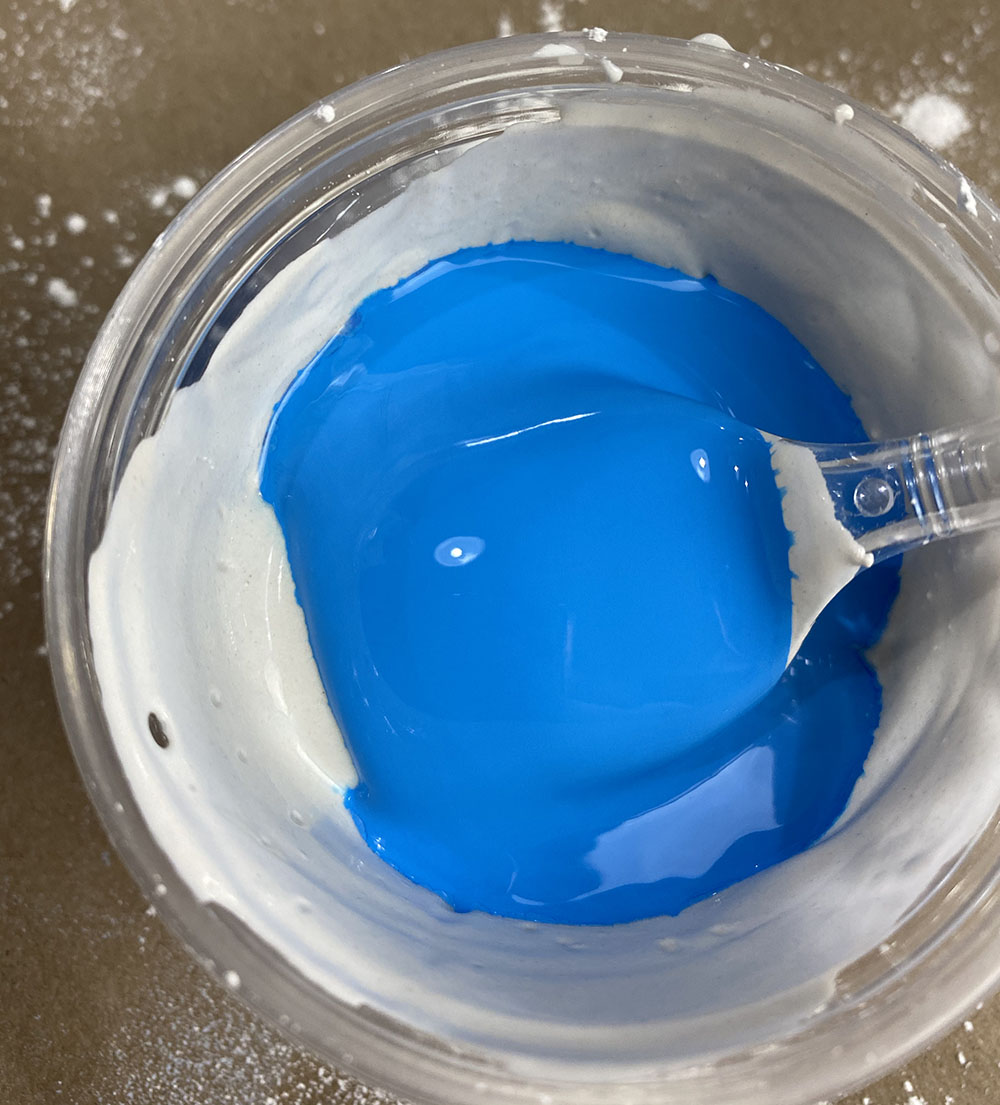
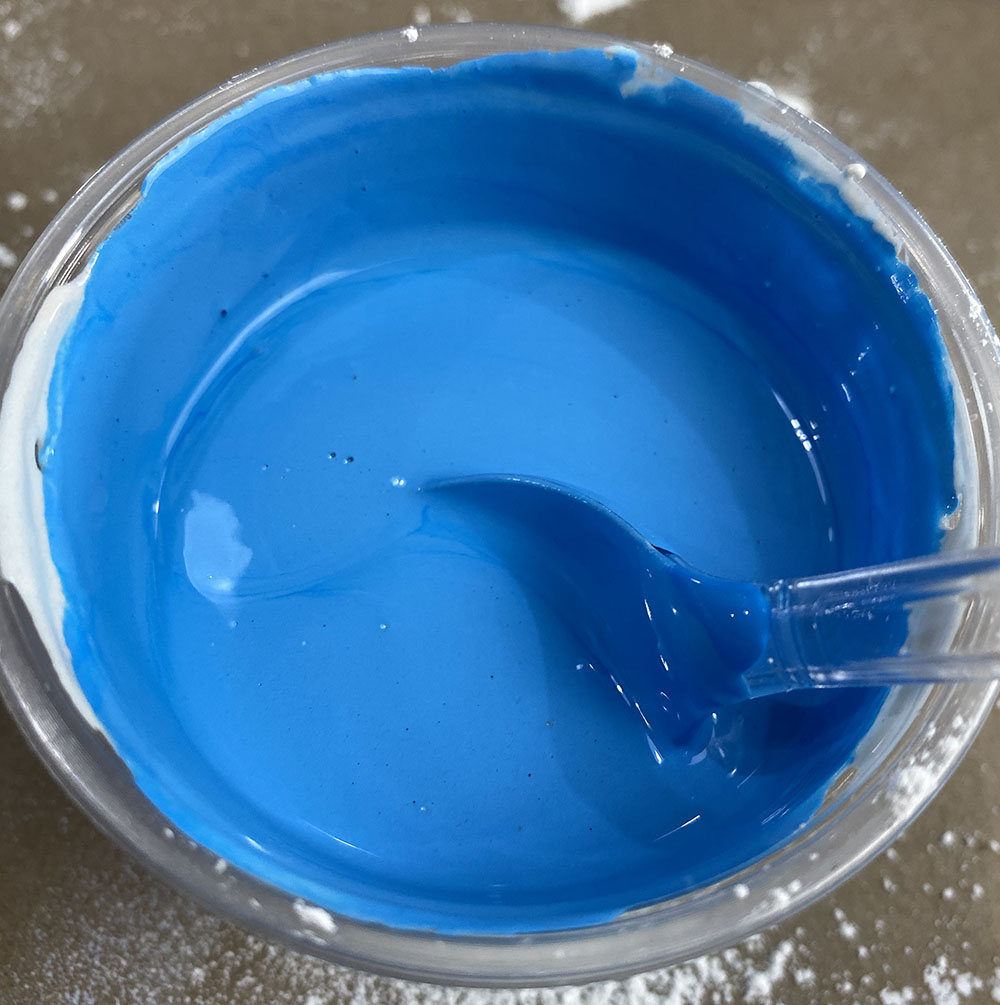
After you’ve got it to the right consistency grab your paint and add it in. You need more than you think to cancel out the gray color of the plaster mixture. You can add as little or as much paint as you want depending on how pigmented you want it to be.
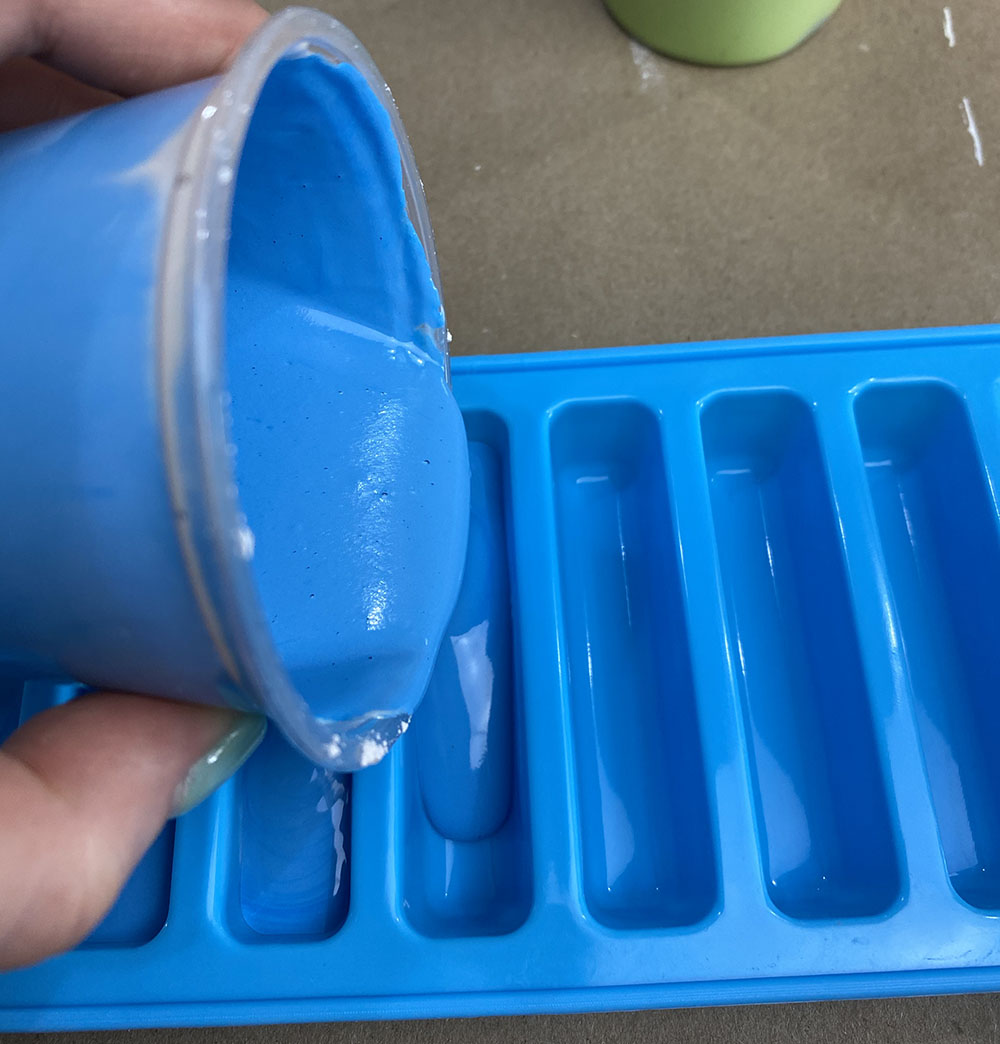
Step 6: Pour into trays
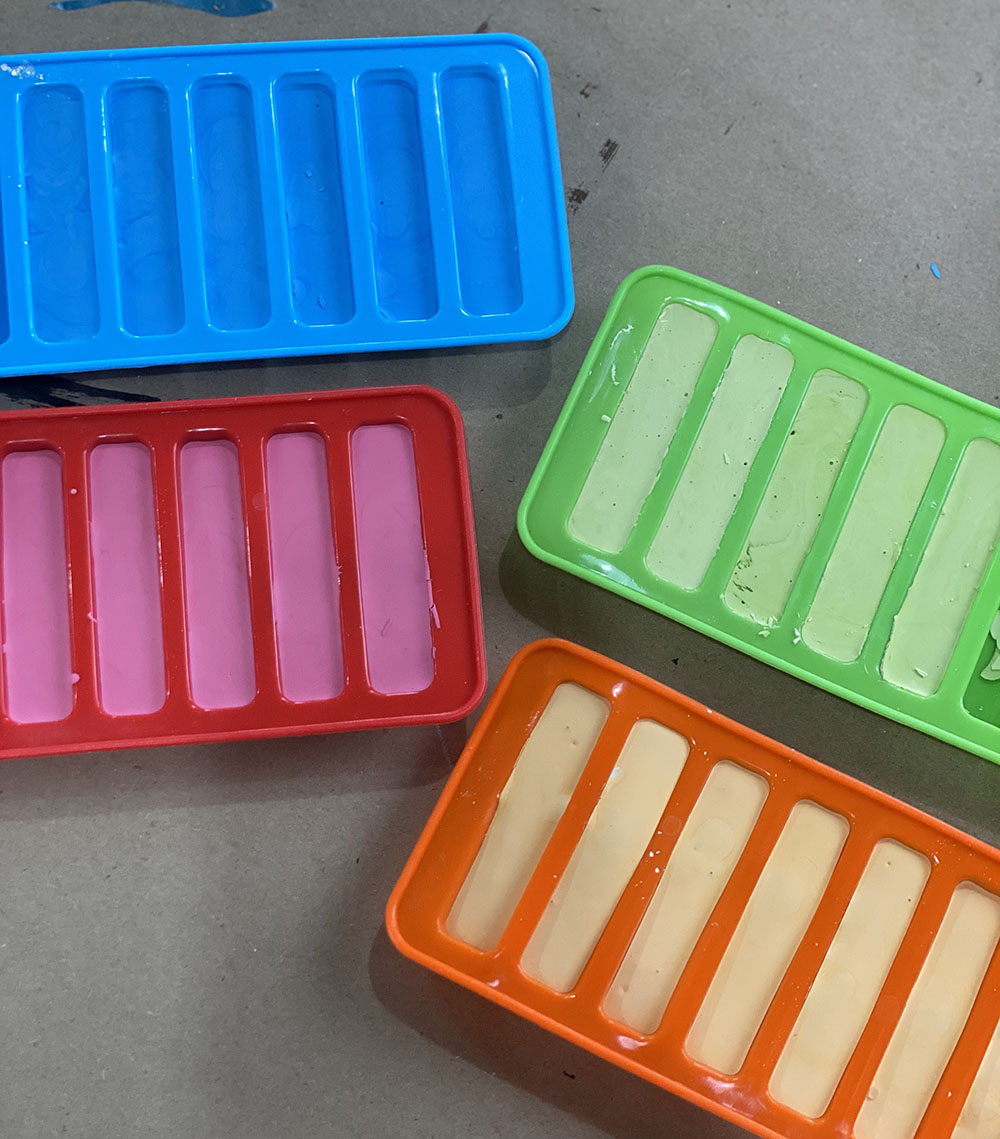
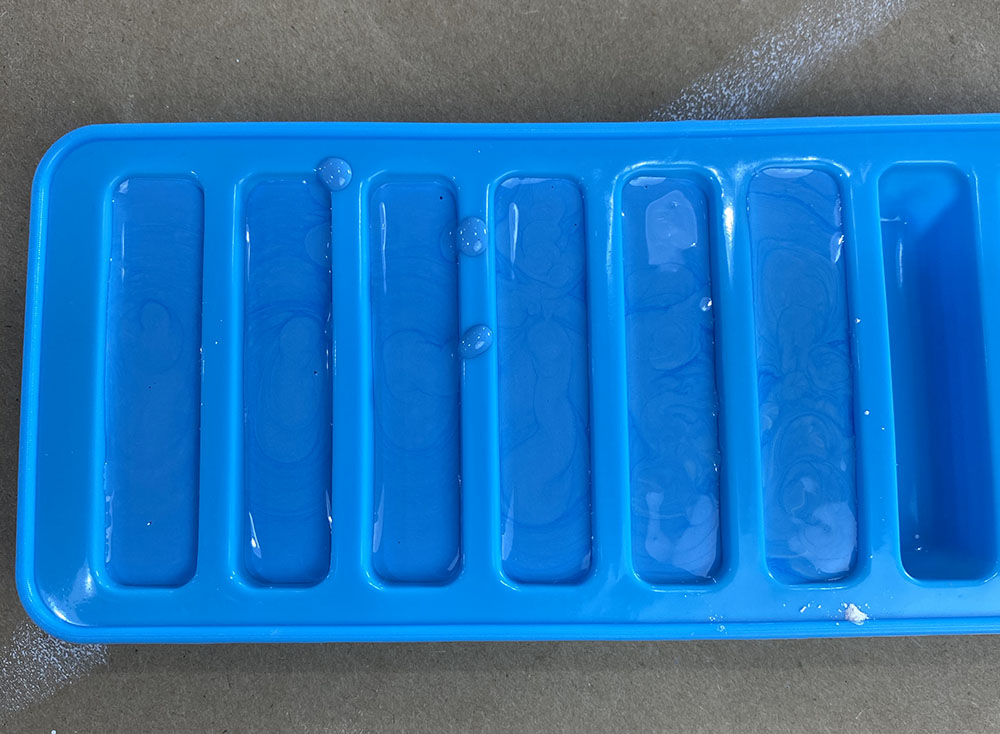
After all of the paint is evenly mixed, grab your silicone tray and pour the mixture in. Once you’re done pouring, you can place the tray into the fridge for 45 minutes to an hour for faster results or leave it out on the counter for a few hours. You basically just want it to be hardened and set before you try to take it out of the mold.
Step 7: Take out of trays
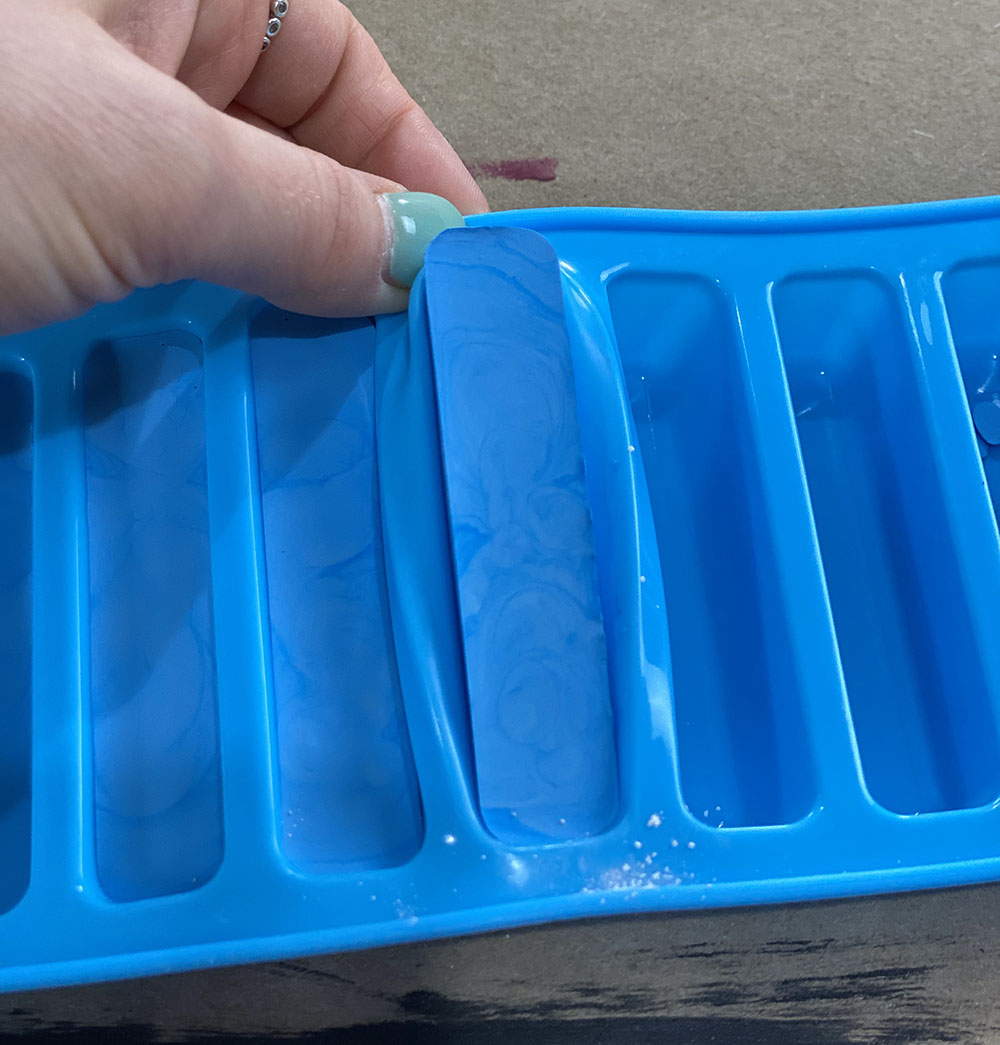
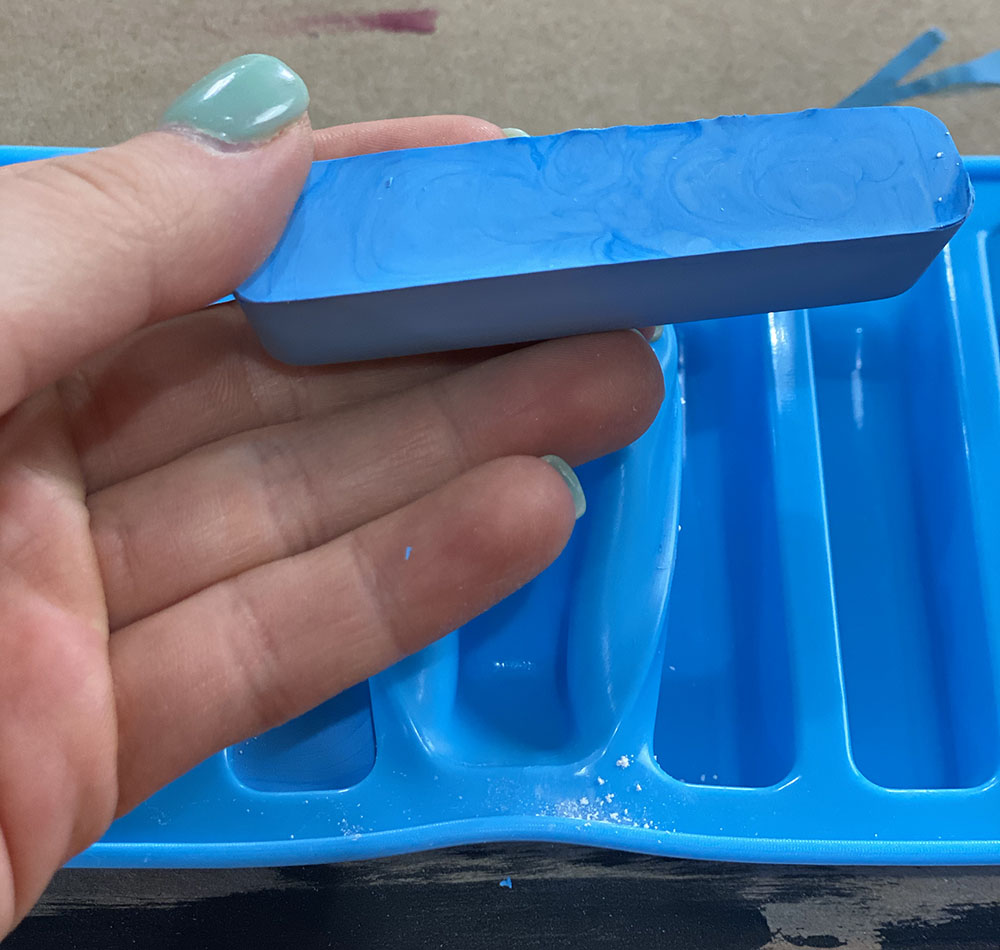
Once it’s all set up take it out of the tray and you’re ready to create some sidewalk masterpieces! Store your chalk in an open container.
